th4210u2002 install manual
Pre-Installation Checklist
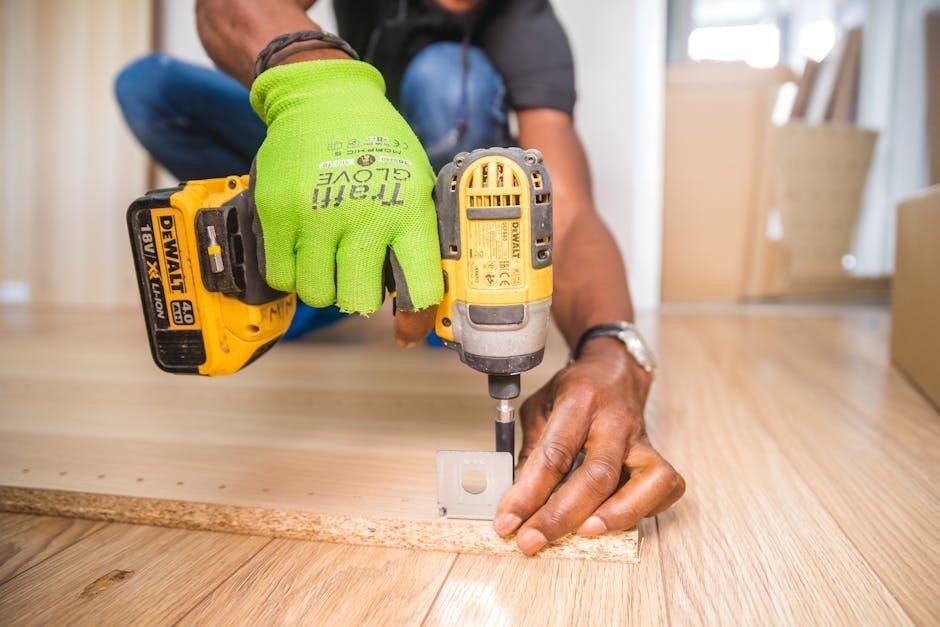
Before starting, ensure the power is off at the breaker. Separate the Junction Box Adapter from the Cover Plate. Verify system compatibility and inspect wiring for damage. Gather necessary tools and materials. Ensure fresh batteries are installed for proper function.
- Turn off power at the circuit breaker.
- Disconnect the old thermostat if replacing.
- Check system compatibility with TH4210U2002.
- Inspect wiring for damage or corrosion.
- Gather tools: screwdriver, wiring labels, and mounting screws.
- Prepare a level for proper adapter alignment.
- Install fresh AA alkaline batteries.

Mounting the Junction Box Adapter
Mount the Junction Box Adapter to the wall or an electrical box using the provided screws. Ensure the adapter is level for proper installation. Do not overtighten the screws. Follow these steps:
- Separate the Junction Box Adapter from the Cover Plate.
- Position the adapter on the wall or electrical box, ensuring it is level.
- Insert the mounting screws through the adapter’s screw holes.
- Tighten the screws firmly but avoid overtightening.
- Verify the adapter is securely fastened and level.
This step ensures a stable base for the thermostat installation. Refer to Figure 2 in the manual for visual guidance.

Wiring Connections
Connect the wires to the appropriate terminals on the Junction Box Adapter. Match each wire to its corresponding terminal based on your system type. Use the wiring diagram from the manual as a reference. Ensure all connections are secure and not loose.
- Identify the wires from your HVAC system.
- Refer to the wiring diagram for terminal assignments.
- Connect the wires to the correct terminals on the adapter.
- Securingly tighten all wire connections.
- Double-check that no wires are loose or misconnected.
This step ensures proper communication between the thermostat and your HVAC system. If unsure, consult a licensed electrician or the installation manual for further guidance.

Attaching the Thermostat
Remove the thermostat from the Junction Box Adapter. Align the thermostat with the adapter, ensuring proper alignment of the mounting pins. Gently push the thermostat onto the adapter until it clicks securely into place. Ensure the thermostat is level and evenly mounted.
- Align the thermostat with the Junction Box Adapter.
- Gently press the thermostat onto the adapter until it clicks.
- Check that the thermostat is level and secure.
- Tighten the mounting screws provided in the Cover Plate Kit.
- Avoid overtightening to prevent damage to the thermostat.
This step ensures the thermostat is properly attached and ready for battery installation and power restoration. Make sure the thermostat is flush against the wall for a professional finish.

Battery Installation
Insert two fresh AA alkaline batteries into the thermostat. Locate the battery compartment on the back of the thermostat. Open the compartment by sliding it downward. Align the batteries with the terminals, ensuring the positive (+) and negative (-) ends match the compartment markings. Close the compartment securely until it clicks.
- Use only new AA alkaline batteries for optimal performance.
- Do not mix old and new batteries.
- Ensure batteries are properly aligned with terminals.
- Close the compartment firmly to avoid loose connections.
- Check the display for power confirmation after installation.
The thermostat will power on, and the display will light up. This step is crucial for the thermostat to function correctly without external power. Ensure the batteries are installed before restoring power to the system.
Power Restoration and Initial Setup
After completing the wiring and battery installation, restore power to the system at the circuit breaker. The thermostat will automatically turn on, displaying the initial setup menu. Use the navigation buttons to scroll through system configuration options.
- Verify the display lights up and shows the setup menu.
- Set the system type (heat/cool or heat pump) and fuel type.
- Configure the temperature range and differential settings.
- Set the clock and date, ensuring the schedule aligns with your preferences.
- Test the system by running a heat or cool cycle to ensure proper operation.
- Save all settings to complete the initial setup process.
This step ensures the thermostat is operational and ready for programming. If issues arise, refer to the troubleshooting section or reset the system by removing and reinstalling the batteries.

Programming the Thermostat
Press and hold the Menu button to access the programming menu. Use the navigation buttons to set your preferred temperature points for different times of the day. Select the wake, leave, return, and sleep icons to create a daily schedule.
- Set the wake temperature to your preferred morning setting.
- Adjust the leave temperature to an energy-saving level.
- Set the return temperature to resume comfort before arriving home.
- Program the sleep temperature for overnight energy savings.
- Repeat the process for weekend days if needed.
- Use the override feature to temporarily adjust settings without changing the schedule.
- Save your settings to ensure the schedule runs automatically.
This step ensures your thermostat operates efficiently according to your daily routine. If desired, explore advanced options like temperature range limits and differential settings for further customization.
Advanced Setup (Installer Setup ― ISU)
Access Installer Setup (ISU) by pressing and holding the CENTER and buttons for 3 seconds. This menu offers advanced configuration options for system settings, such as temperature differential, swing, and heat pump parameters; Use the navigation buttons to scroll through options and adjust as needed.
- Temperature Differential: Set the minimum temperature difference for heating and cooling stages to activate.
- Swing Setting: Adjust the temperature range the system maintains to minimize cycling.
- Heat Pump Options: Configure auxiliary heat and compressor settings for optimal performance.
- System Type: Confirm the correct system type (e.g., heat pump, gas, electric) for proper operation.
- Advanced Fan Settings: Set fan operation modes and timing.
- Lockout Settings: Enable tamperproofing to prevent unauthorized changes.
After making adjustments, press Save to confirm changes. These settings ensure the thermostat operates efficiently with your specific HVAC system. Refer to the manual for detailed parameter descriptions and factory defaults.
Troubleshooting Common Issues
Common issues during installation or operation can often be resolved with simple troubleshooting steps. Verify wiring connections and ensure the system is powered correctly. If the thermostat screen is blank, check battery levels or wiring connections. For temperature inaccuracies, recalibrate the thermostat.
- Thermostat Not Turning On: Ensure fresh batteries are installed and wiring is secure. Check the circuit breaker or fuse box.
- Incorrect Temperature Reading: Use the thermostat’s calibration feature to adjust accuracy. Ensure proper sensor placement.
- Unresponsive Screen: Restart the thermostat by removing and reinserting the batteries. Check for firmware updates.
- Heating/Cooling Not Working: Verify system settings match your HVAC type. Check for open furnace doors or blocked vents.
- Low Battery Indicator: Replace batteries promptly to avoid system interruptions.
Refer to the manual for detailed troubleshooting guides and advanced diagnostics. If issues persist, contact Honeywell support for assistance.
Final Check and Specifications Review
After installation, perform a final check to ensure all components are correctly installed and functioning as intended. Review the thermostat’s specifications to confirm compatibility with your HVAC system and verify that all settings are properly configured.
- Power Check: Ensure the thermostat is powered on and receiving proper voltage. Verify that the HVAC system responds to temperature changes.
- Wiring Verification: Double-check all wiring connections for accuracy and security. Ensure no wires are loose or damaged.
- Thermostat Settings: Confirm that the thermostat is programmed according to your schedule and preferences. Test both heating and cooling modes.
- Specification Review: Confirm that the TH4210U2002 specifications match your HVAC system requirements, including compatibility with heat pumps or auxiliary heat.
- Battery Check: Ensure fresh AA alkaline batteries are installed and that the low battery indicator is not active.
- Level Check: Verify that the Junction Box Adapter and thermostat are level to ensure accurate temperature readings.
Refer to the manual for detailed specifications and final setup instructions. If everything is operational, your TH4210U2002 thermostat is ready for use.