super pretzels instructions
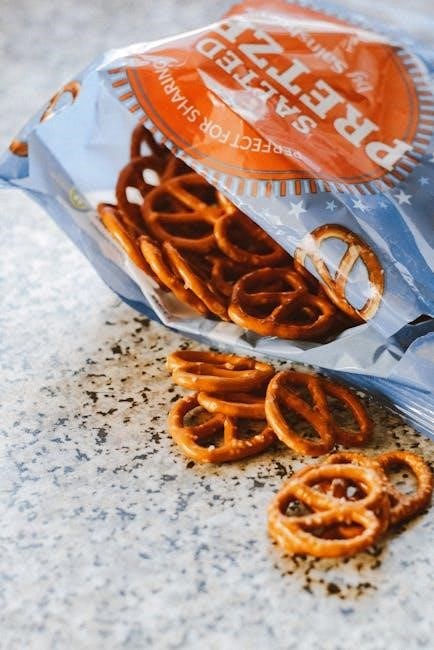
Super Pretzels are soft‚ chewy‚ and golden-brown treats that combine a perfect balance of texture and flavor. They’re a delightful snack or appetizer‚ often enjoyed with mustard or cheese sauce‚ and are surprisingly easy to make at home with the right techniques and ingredients.
1.1 What Makes Super Pretzels Special
Super Pretzels are renowned for their soft‚ chewy interior and golden-brown exterior‚ achieved through a baking soda bath. Their classic salt topping enhances flavor‚ while their versatility allows them to be enjoyed as a snack or appetizer‚ paired with dips like mustard or cheese sauce for added delight.
1.2 Brief History of Soft Pretzels
Soft pretzels trace their origins to ancient Europe‚ where monks created early versions as a reward for prayer. By the Middle Ages‚ they became a staple in Germany and were often enjoyed as a symbol of good luck. The modern soft pretzel gained popularity in the U.S. in the 20th century‚ particularly in malls and ballparks‚ becoming a beloved snack.
Ingredients and Equipment Needed
Essential ingredients include warm water‚ flour‚ yeast‚ salt‚ sugar‚ and baking soda. Equipment needed: mixing bowl‚ baking sheets‚ parchment paper‚ and a whisk for the baking soda bath.
2.1 Essential Ingredients for the Dough
The dough requires warm water‚ all-purpose flour‚ active dry yeast‚ kosher salt‚ and granulated sugar. These ingredients create a soft‚ chewy texture and subtle sweetness. Optional additions like butter enhance richness‚ while pretzel salt adds a classic finish. Ensure all ingredients are fresh for optimal results and proper dough rise.
2.2 Baking Soda Bath Requirements
A baking soda bath is crucial for achieving the pretzels’ signature golden-brown crust and chewy interior. Mix 1 cup of baking soda with 2 cups of hot water to create the solution. Dip each shaped pretzel briefly to coat evenly before baking. This step ensures authentic flavor and texture without the need for lye.
2.4 Recommended Equipment for Shaping and Baking
For shaping and baking‚ use a lightly floured surface or a silicone mat. A stand mixer with a dough hook attachment simplifies mixing. A baking sheet lined with parchment paper is ideal for baking. A dough cutter or sharp knife helps portion the dough evenly. Clean kitchen towels are handy for drying pretzels after the baking soda bath.
Preparing the Dough
Preparing the dough is straightforward—combine warm water‚ yeast‚ sugar‚ flour‚ and salt in a mixer. Mix until a smooth‚ elastic dough forms‚ ready for shaping.
3.1 Mixing the Dough Ingredients
Start by activating yeast in warm water before adding sugar‚ flour‚ and salt. Use a mixer to combine ingredients until a sticky dough forms‚ ensuring all components are fully incorporated for proper texture development. Keep the mixture smooth and elastic‚ avoiding overmixing to maintain dough quality for shaping later.
3.2 Kneading Techniques for the Perfect Texture
Knead the dough on a floured surface for 10-12 minutes until smooth and elastic. Use a stand mixer with a dough hook attachment for efficiency. Ensure consistent pressure to develop gluten‚ which gives pretzels their chewy texture. Avoid over-kneading to prevent toughness. The dough should feel elastic and slightly sticky but not cling to your hands excessively.
3.3 Fermentation Process for Dough Development
Allow the dough to ferment in a warm‚ draft-free place for about 1 hour‚ or until it doubles in size. This step is crucial for developing the dough’s flavor and texture. The yeast ferments the sugars‚ producing carbon dioxide‚ which gives the pretzels their light‚ airy interior. Proper fermentation ensures the dough rises evenly and achieves the desired softness.
Shaping the Pretzels
Shaping the dough into pretzels involves twisting and looping the ropes of dough into the classic pretzel form. This step requires patience and a bit of practice to achieve the perfect shape.
4.1 Classic Pretzel Shape Tutorial
To create the classic pretzel shape‚ roll the dough into a long rope. Cross the ends over each other‚ forming a loop. Twist the ends around each other once‚ then press them gently into the bottom of the loop to secure. This traditional method ensures a uniform and iconic shape for your super pretzels.
4.2 Alternative Shapes for Creative Variations
Explore creativity by shaping dough into twists‚ braids‚ or pretzel bites for a unique touch. For twists‚ fold the rope in half and twist ends. Braids involve dividing dough into three strands and weaving them. Pretzel bites are perfect for snacking. These variations add fun and versatility to your super pretzels‚ making them stand out at any gathering or event.
The Baking Soda Bath
The baking soda bath is a crucial step‚ creating the pretzels’ distinctive crust and golden-brown color. It enhances texture and flavor‚ ensuring a soft‚ chewy interior and crispy exterior.
5.1 Importance of the Baking Soda Solution
The baking soda solution is essential for creating the pretzels’ signature golden-brown crust and chewy texture; It reacts with the dough to produce carbon dioxide‚ enhancing flavor and texture. Traditional recipes often use lye‚ but baking soda provides a safer alternative without compromising taste or appearance‚ making it a must for authentic homemade pretzels.
5.2 How to Prepare the Bath Correctly
To prepare the bath‚ dissolve 1/2 cup of baking soda in 2 cups of hot water (around 120°F) in a shallow dish. Stir until fully dissolved. Dip each shaped pretzel into the solution for 5-10 seconds on each side‚ then place on a greased baking sheet. This step ensures the pretzels develop their golden crust and signature chewy texture.
Baking the Pretzels
Bake the pretzels in a preheated oven at 400°F for 12-15 minutes‚ or until golden brown. This step transforms the dough into a soft‚ chewy‚ and perfectly baked treat.
6.1 Oven Temperature and Timing Guidelines
Preheat the oven to 400°F (200°C) and bake the pretzels for 12-15 minutes‚ or until golden brown. For crispier pretzels‚ bake at 450°F (230°C) for 8-10 minutes. Ensure even browning by rotating the baking sheet halfway through. Smaller pretzels may require shorter baking times‚ so monitor them closely to avoid overcooking.

6.2 Achieving the Golden-Brown Finish
To achieve a golden-brown finish‚ bake pretzels at 400°F (200°C) for 12-15 minutes. Brush with butter or egg wash before baking for enhanced color. Rotate the tray halfway through to ensure even browning. Avoid overcooking‚ as this can dry out the pretzels. For a crisper crust‚ bake at 450°F (230°C) for 8-10 minutes‚ monitoring closely to prevent burning.
Optional Toppings and Seasonings
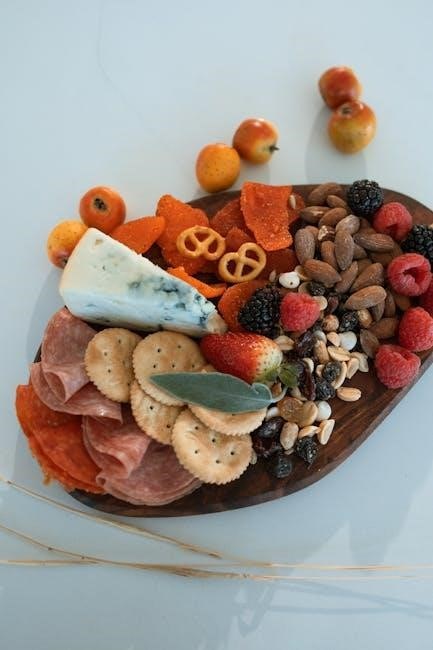
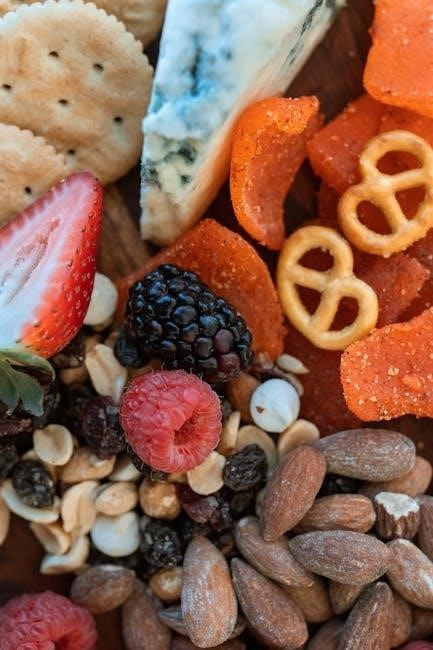
Super Pretzels can be topped with salt‚ mustard‚ cheese sauce‚ butter‚ garlic‚ or herbs. For a sweet twist‚ try cinnamon sugar or sesame seeds for added crunch and flavor.
7.1 Classic Salt Topping
The classic salt topping is a timeless choice for Super Pretzels. Sprinkle pretzel salt or coarse sea salt immediately after the baking soda bath or butter brushing. This enhances the savory flavor and adds a satisfying crunch. For authenticity‚ use pretzel salt for its distinct texture and taste‚ or substitute with kosher salt if preferred. Lightly dust for a delicate finish or generously sprinkle for a bold‚ salty bite.
7.2 Other Delicious Topping Ideas
Beyond salt‚ explore creative toppings like melted butter with garlic‚ cinnamon sugar for a sweet twist‚ or sesame seeds for added crunch. For a savory twist‚ try poppy seeds or a sprinkle of grated cheese. Experiment with herbs like pretzel rods with rosemary or spicy seasonings for a bold flavor. These toppings add personality to your Super Pretzels‚ making them uniquely delicious and versatile for any occasion.

Cooling and Storage
Cooling pretzels on a wire rack preserves their texture and flavor. Store them in an airtight container to maintain freshness and crispiness for later enjoyment.
8.1 Cooling Process for Freshness
After baking‚ allow pretzels to cool on a wire rack for 10-15 minutes. This prevents sogginess and helps retain their soft interior and golden exterior. Proper cooling ensures freshness and texture preservation‚ making them ideal for immediate serving or storage.
8.2 How to Store Pretzels for Later
Store cooled pretzels in an airtight container at room temperature for up to 2 days; For longer storage‚ place them in a freezer-safe bag and freeze for up to 2 months. Reheat frozen pretzels in the oven at 300°F for 5-7 minutes to restore their softness and flavor.

Tips for Customization
Add flavor by incorporating herbs‚ spices‚ or cheese into the dough. Experiment with different dips like mustard‚ cheese sauce‚ or caramel for a unique twist.
9.1 Adding Flavor to the Dough
Incorporate herbs‚ spices‚ or grated cheese into the dough for unique flavor profiles. Try garlic powder‚ sesame seeds‚ or dried herbs like rosemary for a savory twist.
For sweeter pretzels‚ add cinnamon or sugar to the dough. Experiment with combinations to create personalized flavors that enhance the classic soft pretzel texture and taste.
9.2 Dipping Sauces and Spreads
Elevate your super pretzels with delicious dips like creamy cheese sauce‚ tangy mustard‚ or spicy beer cheese. For a sweet twist‚ try honey mustard or caramel dips. Experiment with garlic butter or herb-infused spreads for added flavor. These pair perfectly with the soft‚ chewy texture of freshly baked super pretzels‚ enhancing their appeal as a snack or appetizer.
Common Mistakes and Solutions
Overmixing leads to tough pretzels; mix just until combined. Underproofing causes dense results; allow dough to rest adequately. Overcooking makes them too dark; monitor baking time closely.
10.1 Troubleshooting Dough Issues
Dough too sticky? Gradually add more flour. Too dry? Add a little water. Not rising? Ensure yeast is active and environment is warm. Overmixing leads to toughness; mix until just combined. These adjustments ensure smooth‚ pliable dough for perfect pretzels.
10.2 Fixing Overcooked or Undercooked Pretzels
If pretzels are overcooked‚ they’ll darken too quickly. To fix‚ reduce oven temperature by 25°F and bake for less time. For undercooked pretzels‚ bake an additional 2-3 minutes. Monitor closely to achieve the perfect golden-brown finish without burning. Adjustments ensure soft‚ chewy interiors and crispy exteriors.
Creating super pretzels is a rewarding process that combines simple ingredients with precise techniques. With practice‚ you’ll master the perfect balance of chewy interiors and crispy exteriors‚ ensuring delicious results every time. Enjoy experimenting and sharing your homemade pretzels with friends and family for years to come!
11.1 Recap of the Super Pretzel Making Process
Making super pretzels involves mixing a simple dough‚ letting it rise‚ shaping into twists‚ dipping in a baking soda bath‚ and baking until golden. This method ensures the signature chewy interior and crispy exterior. With each step‚ from dough preparation to baking‚ you craft a delicious‚ authentic pretzel that’s perfect for snacking or sharing.
11.2 Encouragement to Experiment and Enjoy
Don’t be afraid to get creative with your pretzels! Try different toppings like sesame seeds or cinnamon sugar‚ or add flavor to the dough with herbs or spices. Experimenting with shapes and dips can also enhance your pretzel-making experience. Remember‚ practice makes perfect‚ so keep baking and enjoying the process of creating these delicious treats for yourself and others.